




Peel and Stick Wallpaper Border Strips | Self-Adhesive Wall Trim & Accent Molding Decal
- Free Domestic Shipping, orders over $75
Elevate Your Space in Minutes with Removable Peel and Stick Wall Border Strips
Looking for a stylish, hassle-free way to add architectural detail, crown molding accents, or a pop of pattern to your room? Our Peel and Stick Wallpaper Border Strips offer a quick, mess-free makeover with no water, paste, or professional help needed. Whether you are framing a ceiling, creating a faux chair rail, defining a nursery, or wrapping a bathroom mirror, these precision-cut self-adhesive borders glide on smooth and peel off clean, making them completely renter-friendly.
Why You'll Love These Border Strips
✔ Pre-cut 36" lengths for easy, tangle-free handling and precise alignment
✔ Five versatile height options: 3/4", 1", 2", 4", 6", and 10" to suit any room scale
✔ High-grade matte-finish vinyl adheres firmly and removes without peeling paint or leaving residue
✔ Easy-align layout for seamless end-to-end or quarter-inch overlap seaming
✔ Completely renter-friendly — damage-free and repositionable
How to Apply
✔ Larger sizes (6" and 10") comes with a transfer tape layer for single-step application — no complicated multi-piece installation. Smaller sizes are just peel and stick, no tape needed to keep it easier to work with.
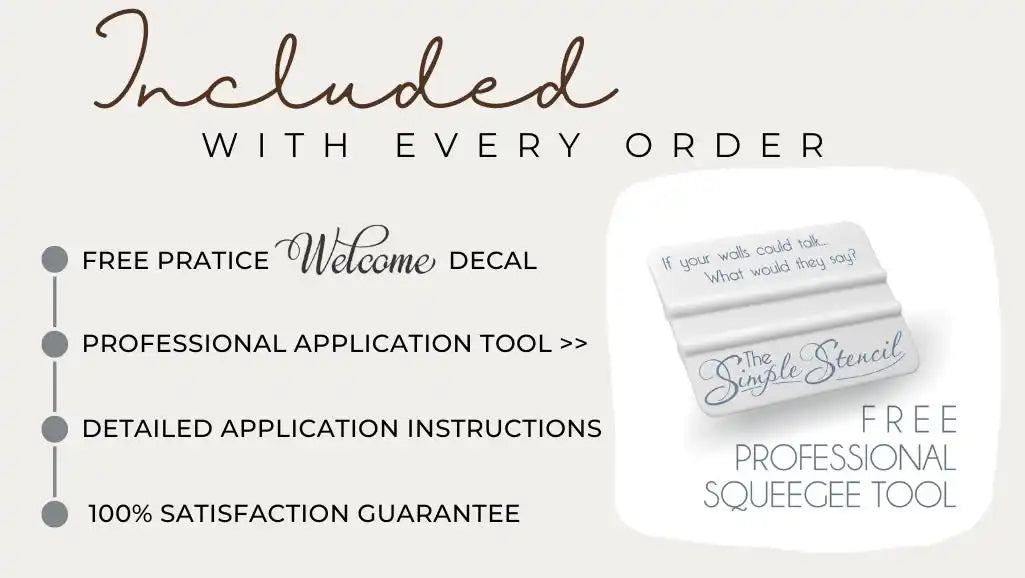
✔ Professional squeegee tool included to ensure a smooth, bubble-free finish
✔ Printed application instructions included so you always know exactly what to do
✔ Free practice decal included to help you get comfortable with the process before applying your design
Installation Guide
Step 1: Prep the Surface
Clean the wall thoroughly using a fifty-fifty mix of isopropyl alcohol and water, then allow it to dry completely. Ensure the wall surface is smooth, flat, and free of dust or fresh paint. If you have recently painted, wait three to four weeks before application.
Step 2: Measure and Mark a Level Line
Use a level and light pencil marks to establish a straight line across the wall. This will serve as your visual guide for the top edge of your border strips.
Step 3: Peel and Position
Peel roughly six to eight inches of the backing paper away from your first 36-inch strip. Align the top edge of the vinyl with your level pencil line and press it gently against the wall.
Step 4: Smooth and Secure
Slowly peel away the remainder of the backing paper while smoothing the strip from the center outward. Use a squeegee, craft felt tool, or soft cloth to press out any trapped air bubbles.
Step 5: Seam the Next Panel
Take your second 36-inch strip and overlap its starting edge over the end of the first strip by one-quarter inch. Continue this process across the entire length of the wall, using a utility knife to trim the final corner piece flush.
How to Measure Your Space to Order the Correct Amount
Calculating the exact number of strips you need for your project is simple. Start by measuring the total horizontal width of the wall or room in inches where you plan to install the border. Divide that total width by 36, which is the length of one strip in inches. Always round your final number up to the nearest whole integer to ensure complete coverage. We strongly recommend adding one extra strip to your total order to account for edge trimming at corners, minor measuring errors, or pattern matching overlaps. For example, if your wall measures 140 inches wide, dividing by 36 equals 3.88 strips, which rounds up to 4 strips. Adding one extra strip brings your ideal order size to 5 strips.
Automatic Bulk Savings on Orders of Three or More
Transforming a larger room or tackling a multi-wall project is even more affordable with our volume pricing. You will automatically receive a bulk quantity discount applied directly in your shopping cart whenever you order three or more border strips of any height. There is no coupon code required at checkout. Simply add three or more individual strips to your cart, and your savings will calculate automatically, making it easy to cover entire rooms, long hallways, or multiple spaces while keeping your project well within budget.
• Application Tool
• Practice Decal
• Easy-to-understand application instructions.
• Die-cut decal, in your choice of color(s), using matte finish Oracal 631 vinyl (no background) specifically designed for home décor use.
• 30 day satisfaction guarantee. And peace of mind, knowing you're ordering from an originator of wall decals for interior decor, since 2002!
➼ Decals have a beautiful matte finish to reduce light reflections and give the appearance of painted stencils.
➼ Easily removable without any damage to the underlying surfaces.
➼ Decals are made of the highest quality wall vinyl made exclusively for interior decor.
➼ All of our vinyl wall decals are produced in the U.S.A.; since 2002! Satisfaction guaranteed!
➼ Easy to Install. Comes with detailed instructions, a free squeegee and practice "welcome" decal.
Production Time
We are currently working on a 2-5 business day production time turn-around. We ship packages twice a week (Tuesdays and Fridays). Orders are produced and shipped in the order they are received. Once an order ships, an email with tracking information will be sent to the email address supplied when order is placed.
Shipping Time
1-7+ business days is the current postal wait-time for shipping in the USA, 6-12+ business days for shipping within Canada* and 2-4+ weeks for international orders*.
Faster delivery options are available at checkout and upon request. Contact us for details.
*International Orders ---- Import duties, taxes, and charges are not included in the item price or shipping cost for orders shipping outside the USA. These charges are the buyer's responsibility. Please check with your own country's customs department to determine what additional costs, if any, will be assessed.